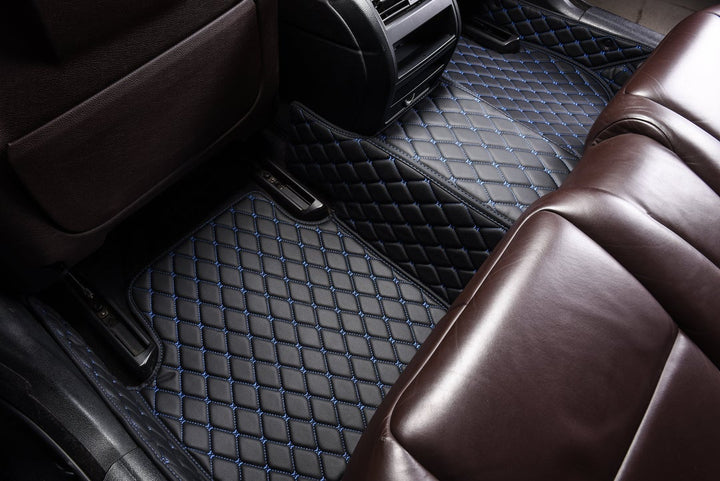
How to Install?
Installation taking 5-minute with no tools or special skills required
1/ Remove all the mats that are already in the car
2/ Move driver’s seat entirely upwards & backwards, to maximise the floor space
3/ Slide the driver’s side mat into place
4/ Repeat the same step with the passenger’s side
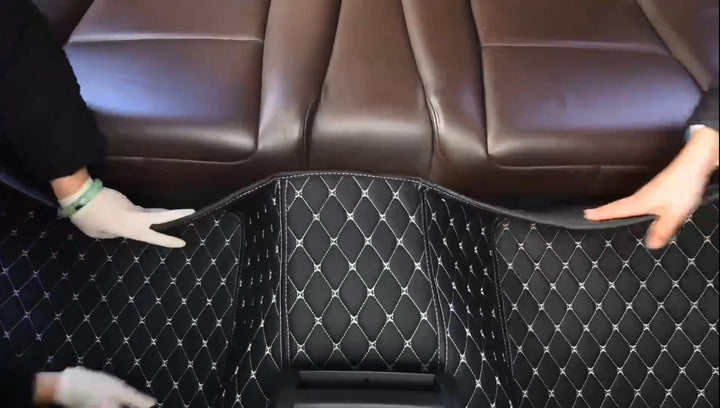
5/ For the rear seat, move the front seats entirely forwards
6/ Place the rear mat across the floor and slide it in
*For some rear mats that have an excess mat part, simply tuck it underneath the bench seat
7/ Secure all the mats with the build-in clips along the edge of the mats, by sliding them into the plastic trim of your car
8/ Each set of mats comes with extra Velcro strips & clips, you won’t need them all, just use them for places that need them to ensure the mats are flat against the floor
WARNING!
1/ Make sure the driver’s seat’s mat DO NOT shift in any way.
2/ Test full range of vehicle pedals to ensure there is no interference.
3/ Double check if all the clips are tucked in your vehicle trims and Velcro are attached to the carpet of your car.
Cleaning Instruction:
Alluxe Car Mats are made with high quality leather for an easy cleaning. Wipe down your mats with microfibre or wet towel, you can add soap or mild cleaning agent.
DO NOT MACHINE WASH! DO NOT MACHINE DRY!
For any assistance, please contact us:
Email: alluxecarmats@gmail.com
Facebook: Alluxe Car Mats
Instagram: @alluxecarmats
Installation guide
Contact Us: